Instant Home Values

Friday, May 30, 2014

How To Install a Wood Fence


Each frame speaks to the masterpiece it contains, and in your home’s yard, the way you surround your landscape can be both an accent and a solution to needs for containment and privacy. A wood fence is a versatile choice, offering picket pageantry and modern styling, as well as endless opportunities for customization. It also happens to be one of the most economically viable ways to wrap your yard, and an achievable DIY project. I talked with Bridget Lowing of Fence Consultants of West Michigan to find out how to install one right.


Project: Installing a wood fence.

Why: You want privacy, semiprivacy or the peace of mind that your kids and pets are safely corralled in your yard. And there’s the perk of added visual appeal and a clear property line to your yard.

Who to hire: A fencing company can help you put up a fence quickly, or if you’re up for the project, you can also do it yourself.

Shown: A 6-foot privacy fence dividing two properties. The gate features a small trellis detail at the top.

Cost: Fence Consultants advises to anticipate a cost of $20 to $60 per linear foot, depending on the wood type and the intricacy of the fence. With some contractors this will include one gate. But, as with many projects, regional pricing will vary, as wood types and availability change.

If you’re tackling the project on your own, the cost will largely be decided by the wood you choose. The additional materials for a basic fence, like concrete and fasteners, are relatively minimal.

Typical project length: Building the fence usually takes three days (one to set the posts, one for the concrete to settle and one to add the rails), but if you are going with a contractor, anticipate potential project wait times, especially during the busy season for fencing (spring and summer).

Shown: A 4-foot horizontal fence with rails embedded into the posts


Best time to do this project: A fence can be added year-round, but most people install fencing in the warmer months, when they are more likely to use outdoor living spaces.

Permit: Check with your homeowner’s association, if you have one, and with your local municipality. Nearly all cities and towns have fence regulations, and many require a permit for building a fence.

Shown:
A 4-foot stained picket fence with copper caps on the posts
Things to Consider
Ask permission, not forgiveness. While Robert Frost once penned, “Good fences make good neighbors,” there have been major battles fought involving neighbors, homeowner’s associations, municipalities and fence builders.

Talk with your neighbors. Make clear your fencing intention and see if they’re interested in partnering in the construction. Lowing often sees neighbors collaborate on building projects so the fence is “the same age, same style, and same material, and they’re all saving money,” she says.

If they’re not collaborating, hopefully your neighbors will at least give you the thumbs-up for the project. If not, you can still build your fence, but be considerate and respect the property rights of your neighbors.

Shown: A solid vertical privacy fence with the good-neighbor side facing inward

Build a friendly fence. In some areas there is a good-neighbor requirement for fencing, meaning the posts are visible only on the interior (the side facing the fencing owner’s home). If you prefer to not have that visual, you can construct a shadow box fence or solid board fence to provide a clean look on both sides of the fence.

Know your limits. Before building, make sure you know exactly where your property line is. If you’re not confident, hire a surveyor to map it out. Also, you’ll want to check for underground utilities before digging to set your posts.

Shown: A horizontal privacy fence, with the boards set at angle to imitate beveled siding
Consider topography. Wood fences that are premade can be racked to accommodate slope, or if you’re building them onsite, you can fasten the boards on a stagger. If you want a clean line on the top of the boards, measure and cut once the boards are secured. For steep changes in elevation, you may have to stagger sections, securing them at different heights on the shared post.

Think like an animal. If you’re fencing in a pet, consider escape. Gaps below boards (especially on a slope) can be avenues of escape, and a low fence can be leaped over. Lowing advises, “If you’re getting a fence for containment of a dog, think about the type of dog you own. Some dogs can dig under fences and chew and scratch the boards, and eventually break them.” So, for your animal and your fence, consider your security needs.

Shown: Another angle of the 4-foot horizontal fence


Quality counts. Your choice of wood for your fence will depend on your area, but Lowing emphasizes that not all boards are equal. The western redcedar that Fence Consultants uses is ¾- to 1-inch thick, whereas some store-bought boards come in at ⅝ inch thick. The small difference makes a big difference, especially in the longevity of the boards. Also, consider your wood’s worth. Cedar is a popular option because it is naturally resistant to insects, is extremely solvent with stains (which requires more stain, but the stain will last longer) and holds form well in variable temperatures.

When fastening the boards, use stainless steel screws or galvanized nails, to better resist rot. The investment up front will lead to a fence that lasts, which, in the long run, saves money.

Shown: A 4-foot painted white picket fence


Don’t forget the golden years. “Wood is a natural product,” Lowing says. “It will do what it wants at times.” A wood fence should last about 20 to 25 years, depending on wood type and maintenance, but there’s always the chance of a stray board’s warping and needing to be brought back to rights (or replaced). Staining your fence can maintain the wood’s clarity and a desired color or shade, and stains usually last about five years. An unprotected fence will turn silver or gray in about a year. Painting is also an option, but consider you’ll need to repaint every year or two, as the paint will peel and flake.

Shown: A horizontal fence with long rails to accentuate the wood’s grain


Fence Terms

Posts:
The 4-by-4 (or larger) boards that are set in concrete and anchored into the ground. At least one-third of the height of the post should be buried underground (for example, for a 6-foot-tall fence, a 9-foot post should be buried 3 feet deep).

Rails: The horizontal supports running between posts. Rails are attached at the top and bottom, and sometimes in the middle.

Bay: The area between two posts. Styles can vary from solid, fully private infills to spaced infills, like those found on a picket fence.

Gate: The door that provides entry and exit. Gates are mounted to posts and can swing in one direction or both directions. Most gates have latches, and for added security you can add a latch that locks.

Shown: A western redcedar vertical privacy fence with the good-neighbor side facing outward. The fence features decorative rails at the top and bottom.

Tuesday, May 20, 2014


10 Garage Conversion Ideas To Improve Your Home


A simple garage has more potential than you can ever imagine. With a little effort and imagination, you can turn a cold and sober place in a welcoming and peaceful area…or not. The final result depends on your wishes! The options are endless but, unfortunately, you still have to take into consideration various aspects. One of them is the amount of space you have.


The other one is related to what is your idea regarding a garage conversion. What would you like to have instead of it, an office, a reading corner, a playground for your kids? Maybe the following images will help you decide what you really need.


1. Garage renovated for family play.


Kids are always full of energy. Why not teach them how to channel it on something good for their health, like sport? Who knows, maybe in time they will develop a passion for sports! Besides that, such a place will stimulate their imagination and help them to improve their skills. Climbing monkey bars, swings, ropes, gym mats, sounds like a perfect playground, don’t you think?

2. Cozy guest house.


Always be prepared for surprise visits! Think about your friends from out of town. Where could they sleep if they decide to come over? Turn your garage in a small guest house and you won’t have to be concerned about this anymore. Notice how important is a room divider in the case above. Used as a TV stand, this also provides storage and architectural detail to the room.

3. Stylish lounge with a bar.


Modern Craft Construction succeeded in creating a gorgeous living space area where once was a garage. They did their job so well that I wouldn’t have noticed this space was actually a garage. The lack of windows in that area, and the glass garage door were the only ones that made me think of this option. This is a good place to watch a movie with your family, or to throw a party. You have plenty of space!
4. Sleeping loft, Santa Barbara.


We all need a special place where we can find our peace and unleash our creativity. This splendid lofthas almost everything you need: a sleeping area, a small kitchen and bathroom, huge barn doors with a rustic charm and a beautiful climbing plant that will bring freshness to this space. Such a lovely setting would make you dream about an endless summer.

5. Romantic retreat.


Who would have thought a garage can be converted in such a romantic room? The mosquito net over the bed is the main attraction. I can only imagine a fresh airflow playing with those white curtains!

6. Relaxing living room to spend some time with your family.


How simple would be to have a remote control that will help us to fulfill our dreams with a simple push of a button! One thing I know for sure: somebody’s dream has come true thanks to Kerrie Kelly Designers. They converted a garage into this beautiful family lounge. An ethanol fireplace niched into a sheet rock wall was added to create a warm and relaxing atmosphere. The vividly painted items on the shelves and these beautiful flowered chairs bring a splash of color and induce a whimsical feeling.

7. Turn your garage into a man cave.


Have you ever wanted to play pool or darts or anything else, but you weren’t in the mood to get out of the house? How about designing your own space for such activities… in the garage? A pool table, darts, a foosball table, rummy, board games, video games, all of these could easily find their place in your garage. If you have enough space, you can add a bar and some tables. After this, all you have to do is call your friends and spend a memorable time with them.
8. Home gym to stay in shape.


It’s not so easy to stay in shape these days! We are always in a hurry, many of us work a lot and are too busy thinking about something else than about what should we eat and when. Not to mention that we don’t have enough time to go to the gym daily. So how can you change your lifestyle without running all day long from home to work, then to the gym, then home again? This is definitely not a way to stay in shape, but a way of dealing with more stress every day. Turn your old garage in a home gym and stop wasting precious time and money to go to the gym.

9. Create a suitable working place for you…in your garage.


Whether you’re a freelancer, a writer, a painter or just a person that enjoys spending a lot of time on the internet, you need a proper space to do your job in peace. If that place can be furnished and decorated by you, even better! So go ahead, think about what you need, make a list, buy whatever you need and turn your garage in an office or an art studio.

10. Turn your garage in a home cinema.


Everybody loves watching movies, it’s a relaxing activity. One of my dreams is to have a cinema in my own house and organize movie sessions with all of my friends. If you’re a film fan with a useless garage… consider this as an opportunity to use it. The basic things you will need are: a big screen, good sound equipment, some comfortable armchairs or a big sofa and popcorn.

Sunday, May 18, 2014

3 Ways to Boost Home Energy Efficiency Using Décor

Energy costs are continually on the rise, and property owners are constantly seeking new ways to reduce their energy consumption. Enduring hot summers and frigid winters with low HVAC usage is one way to reduce costs – but this is ultimately impractical and very uncomfortable.

Installing energy efficient appliances is also a smart change, but replacing everything at once can be very expensive. Luckily, there are a few simple ways to cut back on the amount of energy you use by working harder to maintain your home’s current temperature. Best of all, this can be accomplished through décor!

Window Treatments

When it comes to home air leaks, windows are one of the worst culprits. Replacing old windows is key to preventing air leaks, but window treatments are another stylish preventative measure. Shades and light-blocking curtains will help reduce heat transfer from sunlight, while thick draperies can hold in heat during the winter.

by D for Design

Wall Tapestries

Walls that face the outside of your home are another culprit to energy loss – especially if they’re not insulated on the outside. In this case, your heating and cooling system will have to work twice as hard to maintain a comfortable temperature. An elegant wall tapestry, however, can aid in preventing energy loss while adding a decorative punch to your living space.


by Pangaea Interior Design, Portland, OR

by Joe Ginsberg Design

Carpeting

Anyone who has ever stepped onto a bare wood or tile floor in the dead of winter can speak to the ill insulation of non-carpeted floors. If wall-to-wall carpet isn’t in your budget, or doesn’t complement your taste, consider thick area rugs. These rugs will limit heat transfer and work as insulators so your feet will feel nice and cozy in the winter and your home will lose less cooling power in the summer.

by HUISSTYLING

by AMW Design Studio

by Powell/Kleinschmidt, Inc.

In other words, contrary to popular belief, it is possible to decorate your home and still save money.


Tuesday, May 13, 2014

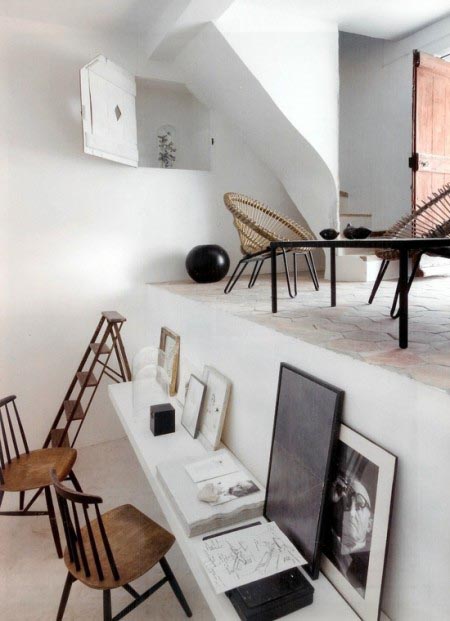
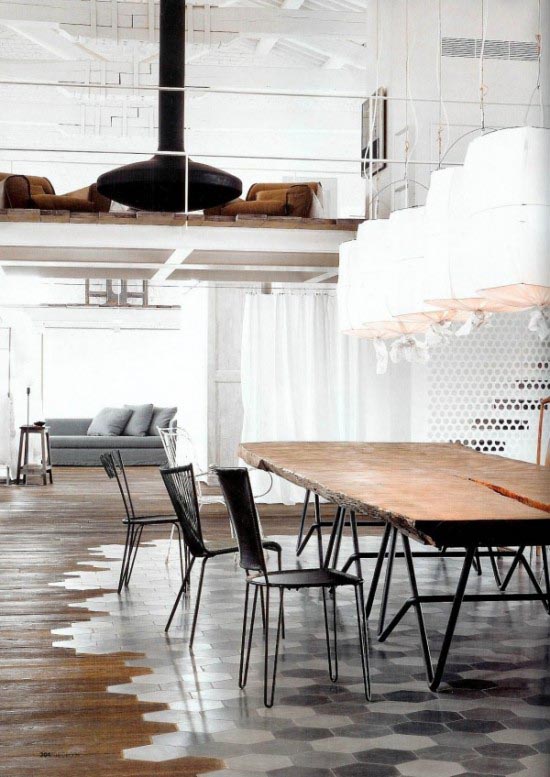
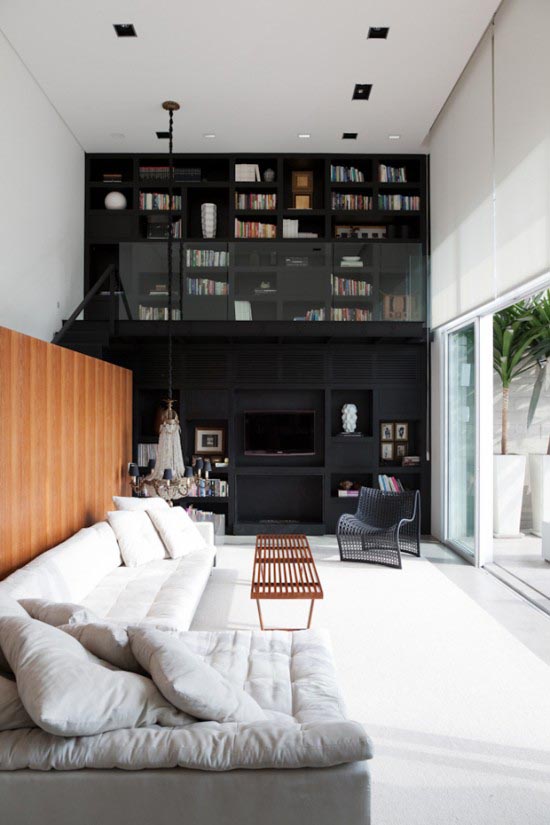
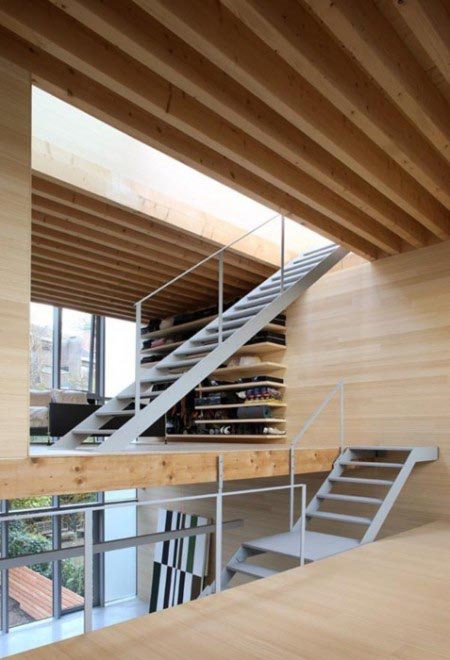
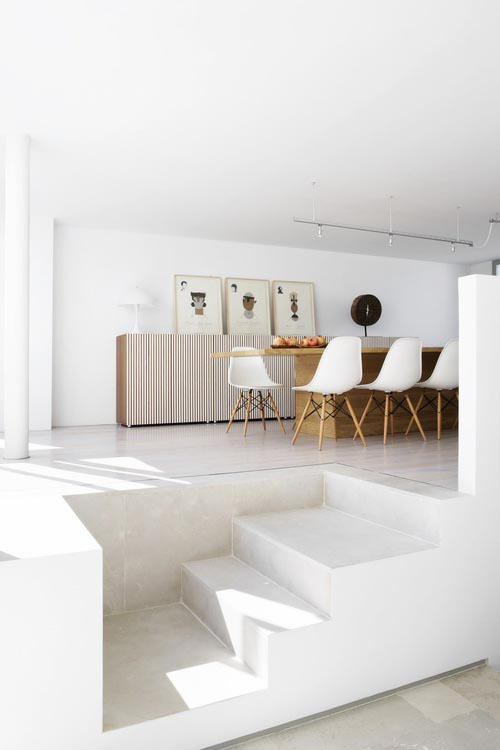
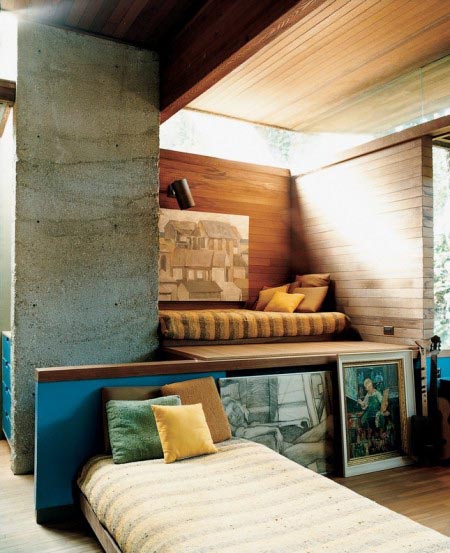
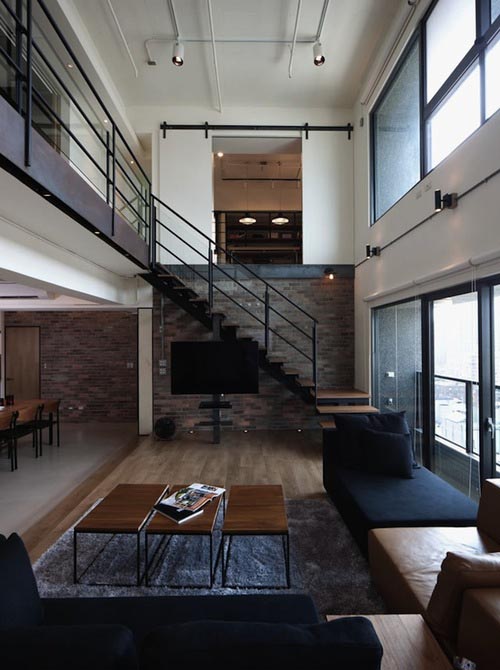
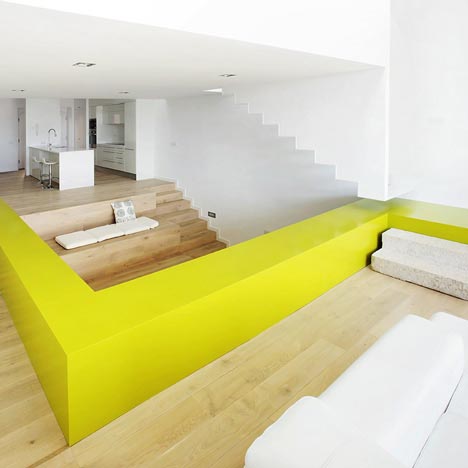
Split Level Inspiration from Belgium

Split level homes can be found around the globe. Here are some examples from my native country Belgium. Definitely a demonstration of the timelessness of the split level design.